
DIY Residential Wiring: A Complete Guide for Homeowners
When it comes to home improvement projects, one task that often intimidates homeowners is electrical work. However, with the right guidance, tools, and precautions, diy residential wiring can be a manageable and rewarding project. This guide will help you understand the basics, safety tips, and practical steps to handle wiring projects at home.
Understanding DIY Residential Wiring
Residential wiring involves installing and maintaining the electrical systems that power your home. This includes outlets, lighting fixtures, switches, and circuit breakers. Learning the fundamentals of wiring allows homeowners to tackle minor upgrades, save money, and improve the safety of their living space.
Why DIY Residential Wiring is Beneficial
-
Cost Savings – Hiring electricians can be expensive. With proper knowledge and tools, you can complete small wiring projects yourself.
-
Skill Development – Gaining electrical skills empowers you to handle future home improvements confidently.
-
Customization – DIY projects allow you to customize your electrical setup according to your needs.
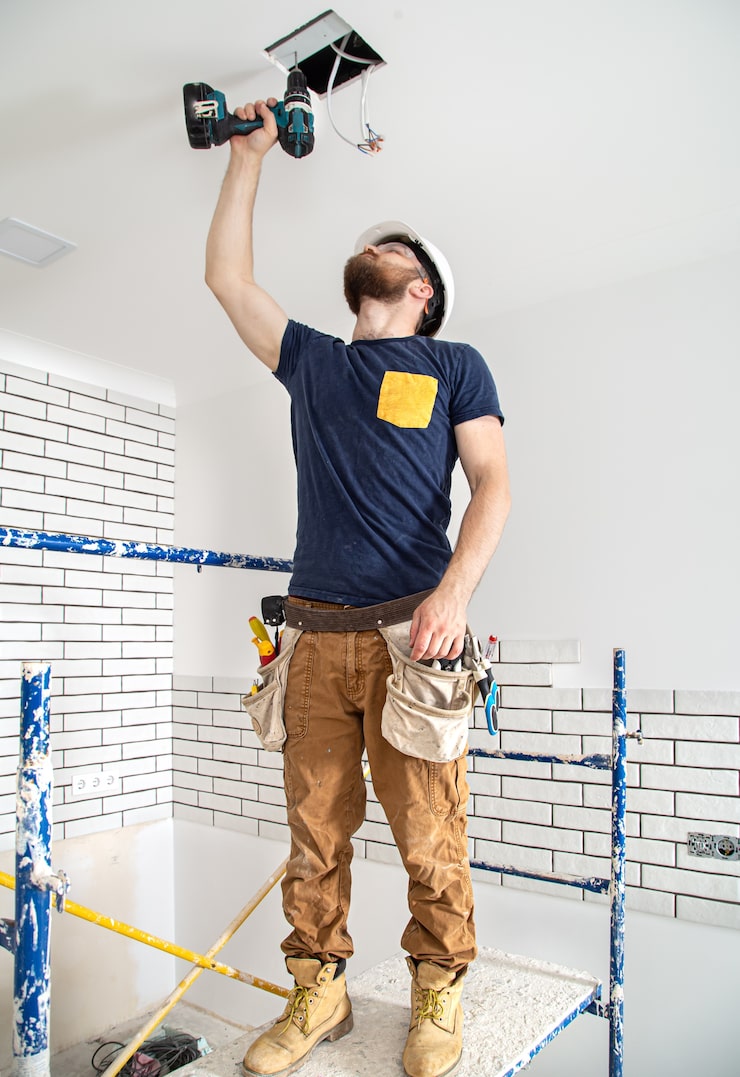
diy residential wiring
Essential Tools for DIY Residential Wiring
Before starting any wiring project, you need the right tools. Here are the essentials:
-
Wire cutters and strippers
-
Screwdrivers and nut drivers
-
Electrical tape
-
Voltage tester
-
Pliers
-
Circuit tester
These tools ensure safety, precision, and efficiency in completing your wiring tasks.
Step-by-Step Guide to DIY Residential Wiring
Planning Your Wiring Project
Begin by mapping out your project. Identify the location of switches, outlets, and fixtures. Draw a simple layout to visualize the circuit paths and calculate the required materials.
Turning Off the Power
Safety is paramount. Always turn off the power at the circuit breaker before starting any wiring. Use a voltage tester to confirm that there is no live electricity.
Running Wires and Installing Outlets
Measure and cut wires according to your plan. Run wires through walls or conduits and connect them to outlets and switches as per electrical codes. Ensure all connections are secure and insulated properly.
Installing Light Fixtures
Attach light fixtures following manufacturer instructions. Make sure connections are tight and that wires are properly grounded.
Testing the Circuit
Once all connections are made, turn the power back on and test the circuit. Check each outlet and fixture to ensure everything functions correctly.
Safety Tips for DIY Residential Wiring
-
Always follow local electrical codes.
-
Use insulated tools and wear protective gear.
-
Never work on live circuits.
-
Label wires for easier troubleshooting.
-
If unsure, consult a professional.
Common Mistakes to Avoid
-
Overloading circuits – Avoid adding too many devices to one circuit.
-
Improper grounding – Ensure all electrical components are grounded.
-
Skipping permits – Always check if a permit is required for your project.
Conclusion
With proper planning, tools, and safety measures, diy residential wiring is a feasible and rewarding home improvement project. Whether you’re installing a new outlet, upgrading lighting, or rewiring a room, taking a hands-on approach can save money and enhance your understanding of home electrical systems.